How-To: Flat Repairs, Tips and Tricks with Art's Cyclery 10
Video file
Video Guide
:26 - Removing punctured tube
1:21 - Installing new tube
2:33 - Emergency flat fixes
3:03 - Sidewall rip repair
If you ride bikes, you will get a flat. Whether a pinch flat, sidewall slice, thorn, or sliver of glass, flats are never welcome. However, if you are armed with some basic knowledge and a few tips and tricks, flats are nothing to be feared.
Tube Replacement/Install
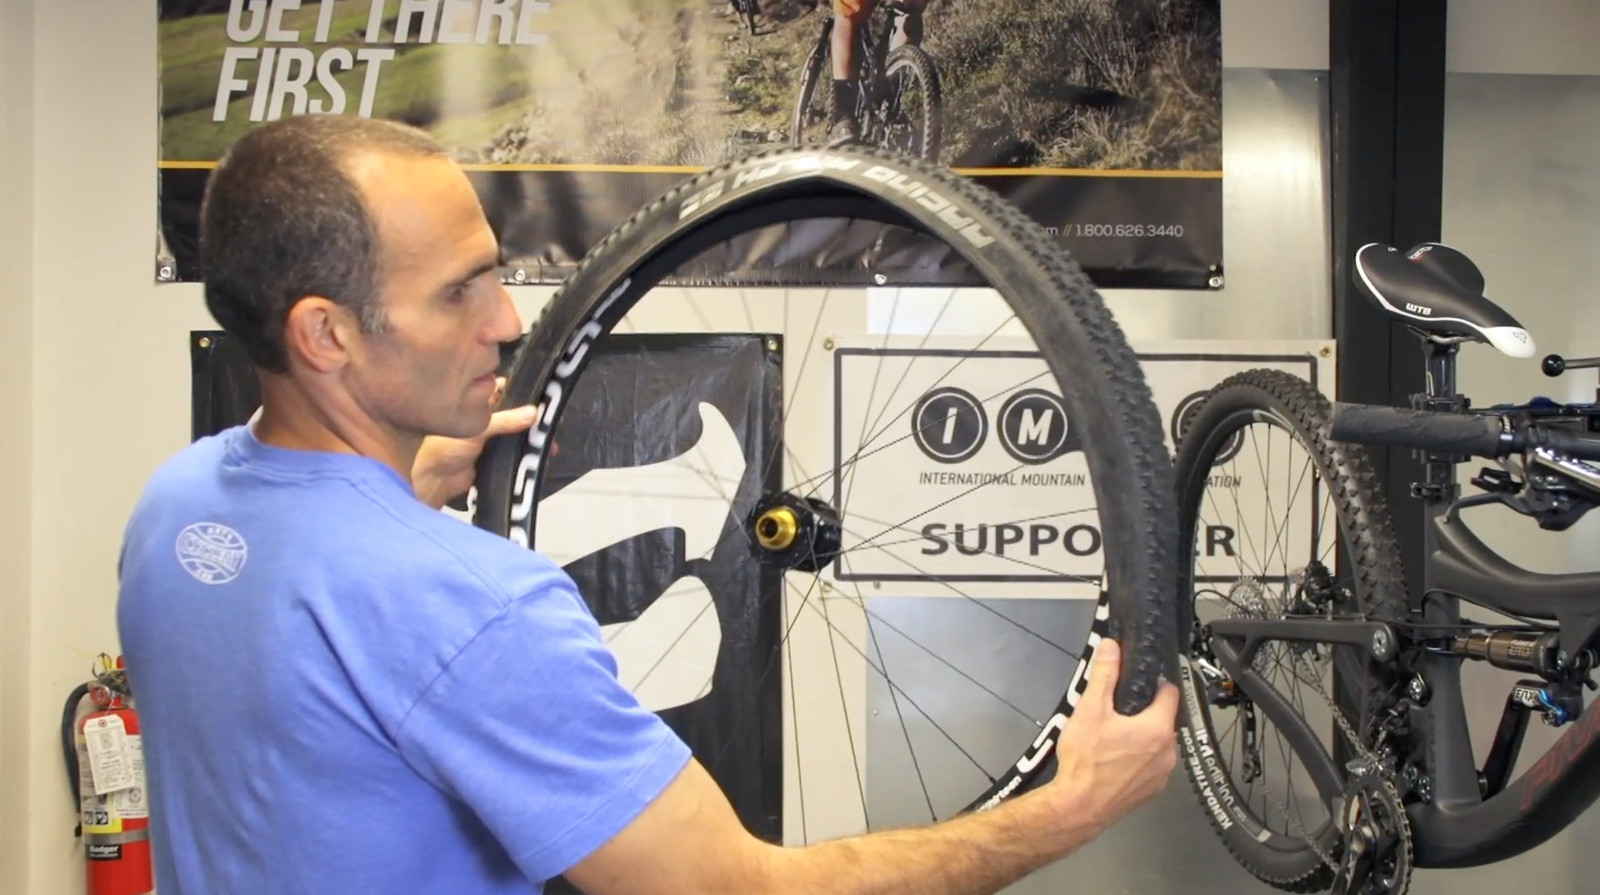
When you puncture a tube or tubeless tire badly enough that it will no longer seal, a new tube is in order. Following a few key steps will ensure a fast and injury-free replacement or install.
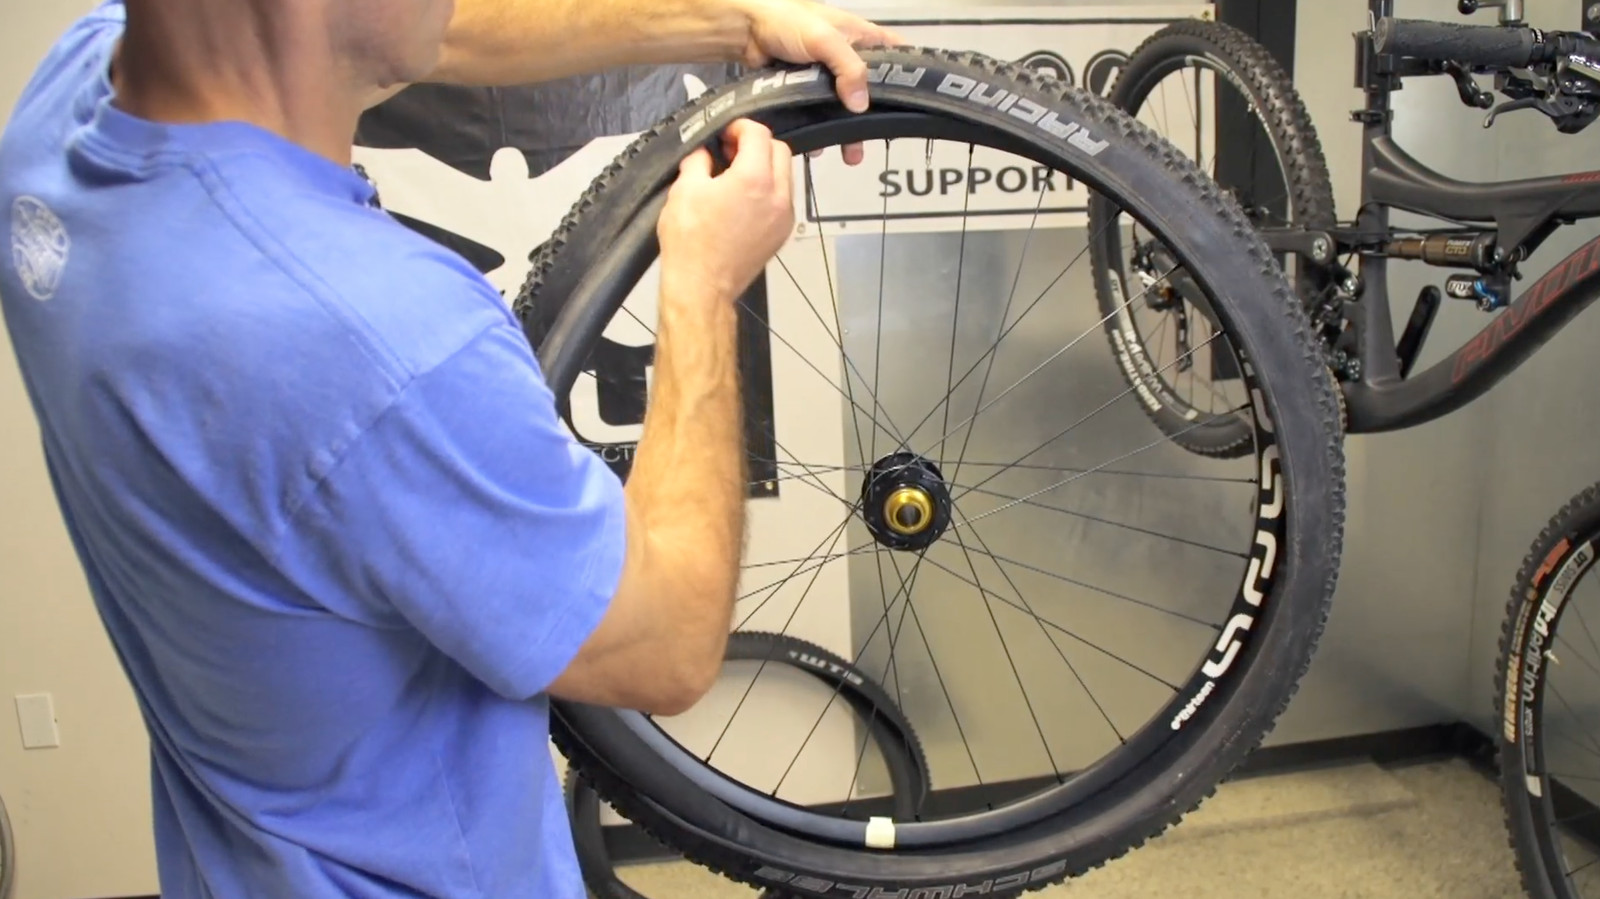
The trick is to push the tire bead down into the trough of the rim bed all the way around the circumference of the wheel. This will give you more slack on the bead to get it up and over the rim’s bead hook.
Then carefully push a tire lever under one bead and slide it all the way around. If you have a loose fitting tire, you can often pull the bead off of the rim by hand. fingers instead if the fit is not too tight. You only need to pull one bead off the rim to install or replace a tube.
To install the tube, first inflate it just enough to give it some shape, put the valve through the rim’s valve hole, and carefully stuff the tube under the tire. Orient the tire logo with the valve to keep it pro. You may need to deflate the tube after getting it under the tire. Then, starting opposite the valve, use your thumbs to push the tire over the rim’s sidewall, working your way up each side of the rim simultaneously back to the valve.
If you start at the valve, the bead won’t be able to sit all the way down in the rim trough, making your job a lot harder. When you’ve worked to the valve, press the tire against your waist, or the ground, to hold the bead in the trough of the rim. This will give you the slack you need to push the bead up and over the edge of the rim.
If possible, avoid using tire levers, since they may pinch your tube, resulting in a flat before you even get the wheel back on the bike. If you do the job right, you will rarely need levers.
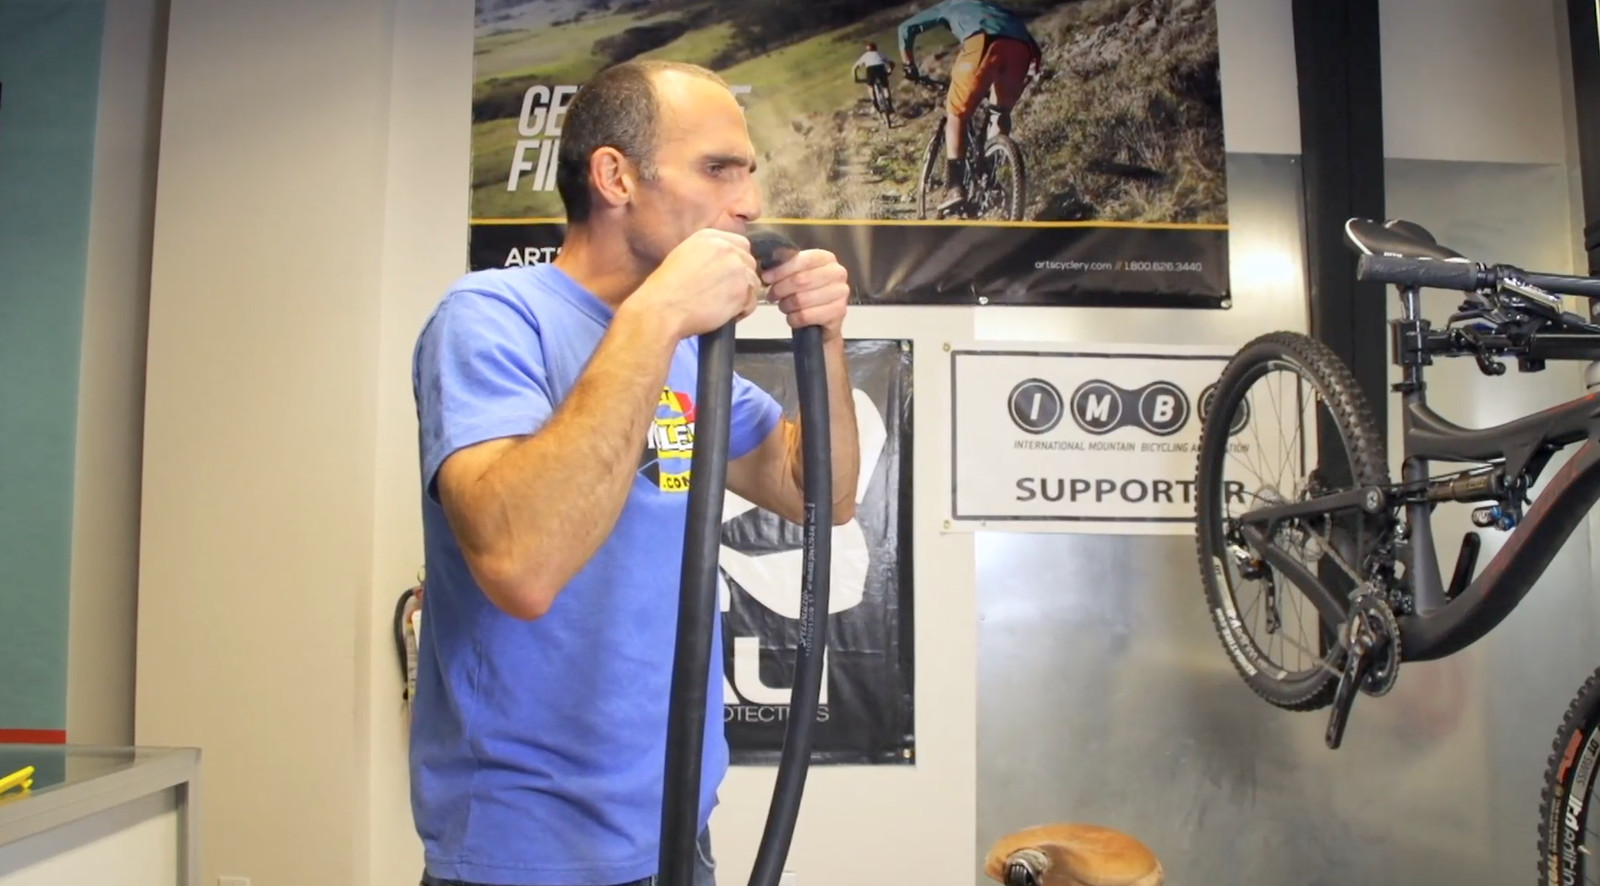
Tie Knot in Tube
When your luck turns sour, and you accrue more punctures than you have patches or spare tubes for, it’s time to get creative.
First, remove the tube and locate the puncture. Next, with a knife or sharp object cut across the damaged section of the tube. Then tie the two ends of the tube together in a tight square knot. Reinstall the tube in the tire. Stay patient since getting the tire bead back onto the rim could be difficult at first. Finally, reinflate the tube and finish your ride, which may now be a bit bumpier.
 Sidewall Repair
Sidewall slices, often due to rock damage and pinch flats, are common causes of flats. The downfall of both tube and tubeless set-ups, sidewall slices must be repaired before continuing on your ride.
Torn sidewalls must be booted in order to contain the inner tube, which will quickly puncture if allowed to bulge out of the rip. Sorry tubeless riders, you will have to install a tube in order to get home on a tire with a torn sidewall.

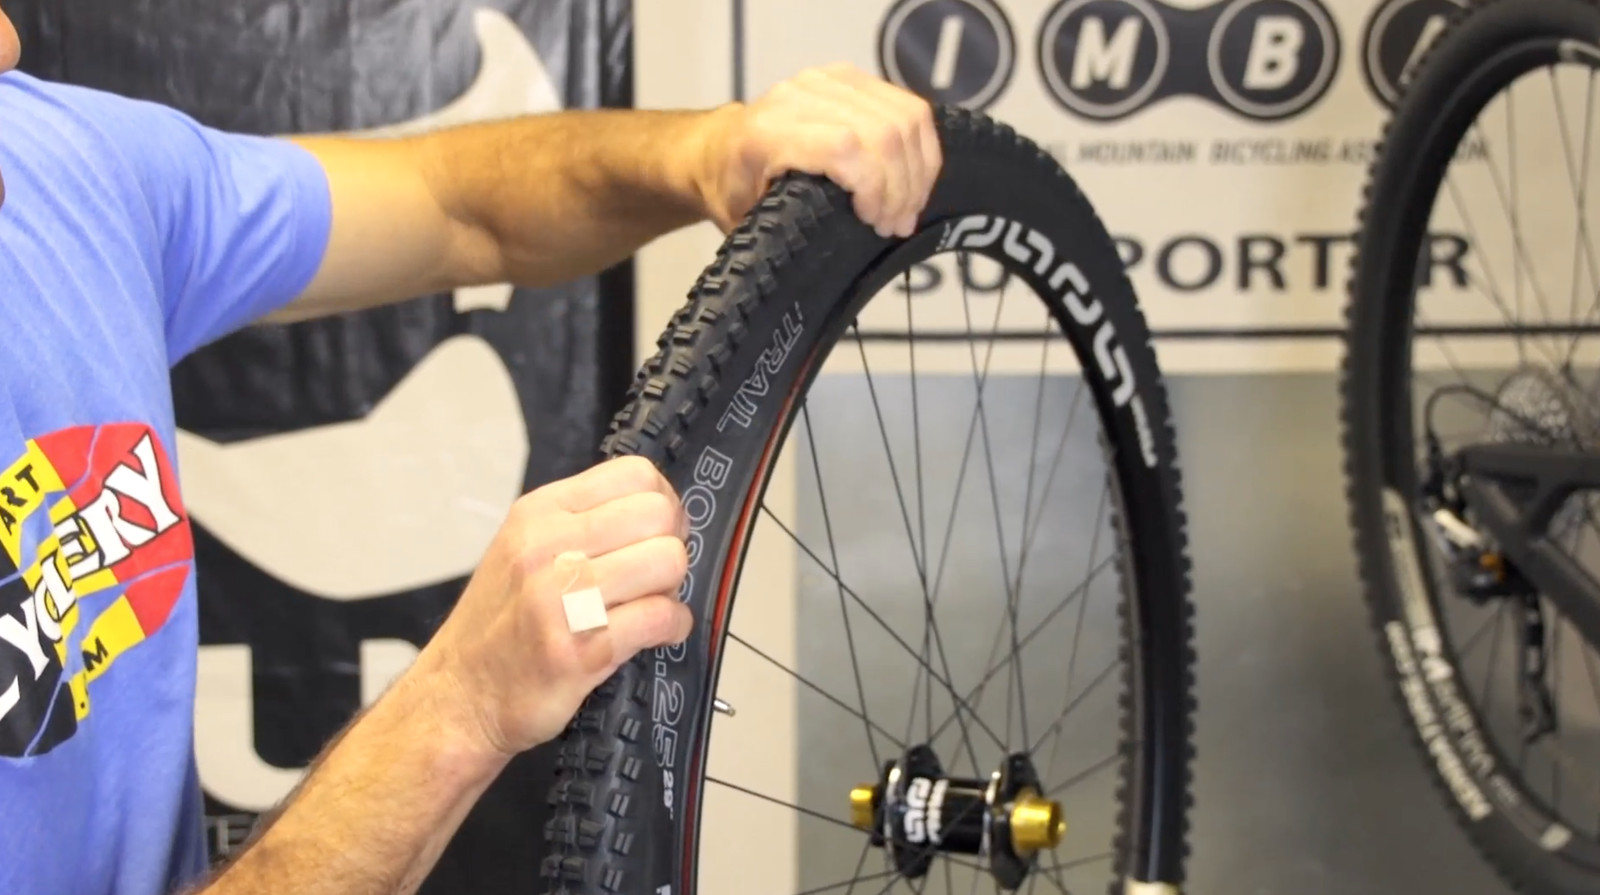
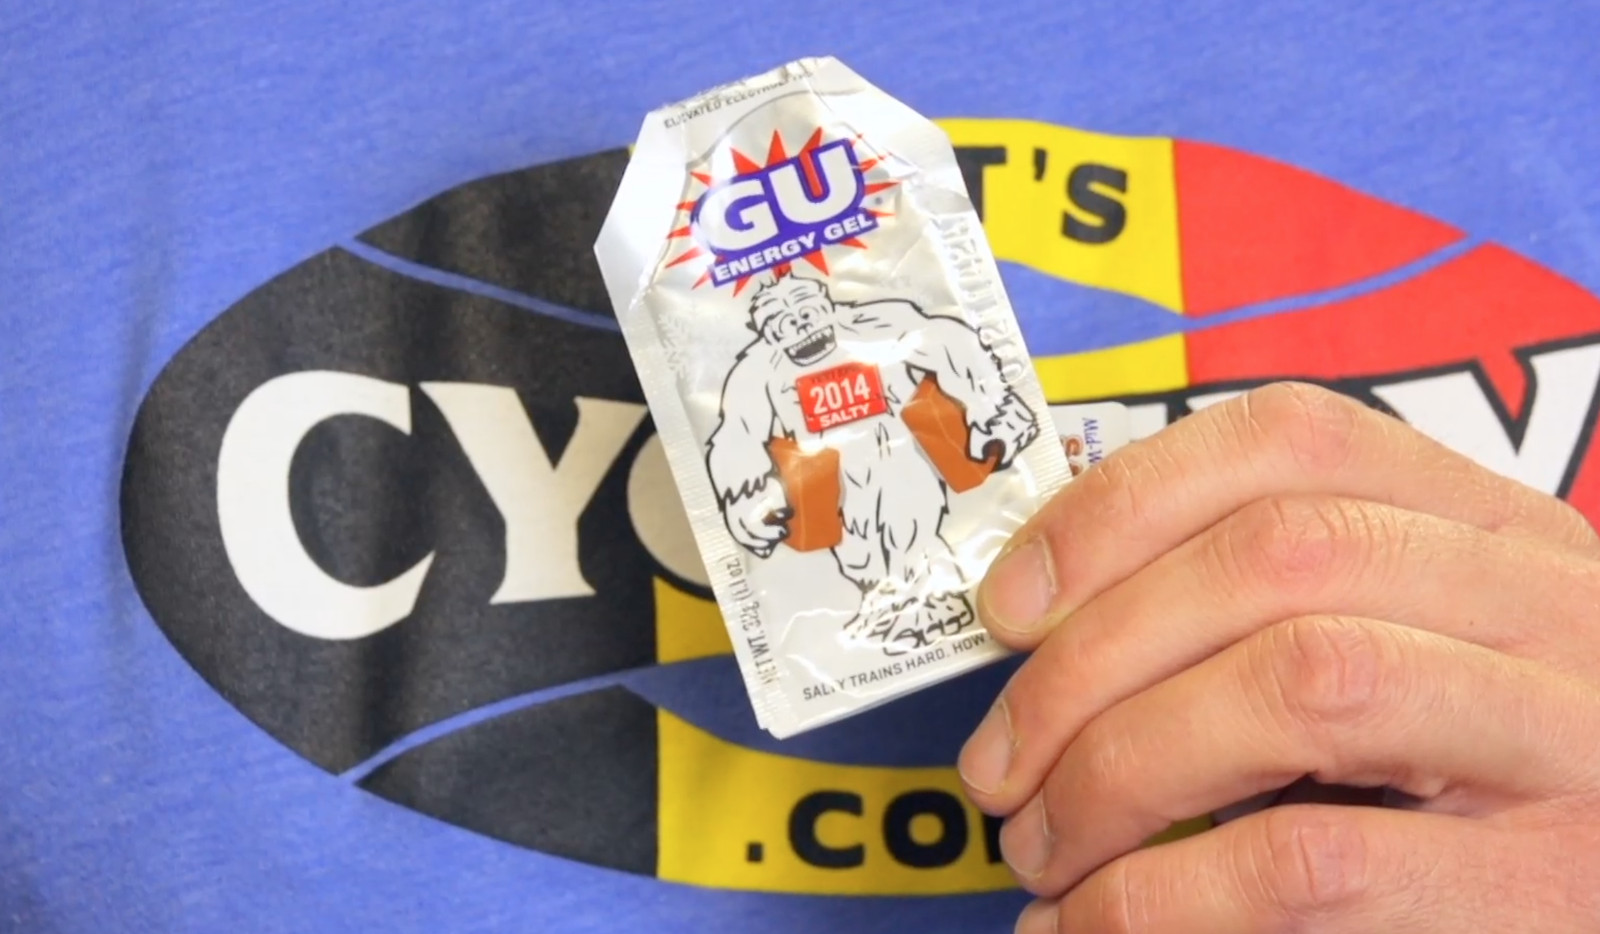
Tires can be booted with several common materials. If you’re the prepared type, you most likely have an old piece of tire or extra-thick downhill tube in your bag for just this purpose. A few layers of duct tape, which you can keep wrapped around your CO2 cartridge or pump, makes an excellent boot. Another well-known trick is to use an empty energy gel or bar wrapper between your new tube and the tire. You can even use a bit of the residual gel to help tack the boot in place during installation. Paper currency and even leaves can be folded up to make a very effective tire boot, just be sure to choose vegetation without any sharp edges, points, or shiny three-leaf clusters.. Double-layers of stickers peeled off your frame can be used also. Our oval Art’s Cyclery stickers are worth keeping in your pack for just this reason.
To install the tire boot, follow the same procedure as a standard tube replacement. After stuffing the new partially inflated tube under the tire, position the tire boot between the tube and tire under the rip. Make sure the boot is big enough to extend well around the edges of the tear in case the boot moves during installation. Carefully seat the tire bead in the rim and inflate the tube, keeping an eye on the sidewall rip to make sure the boot stays in place and keeps the tube from bulging.

:26 - Removing punctured tube
1:21 - Installing new tube
2:33 - Emergency flat fixes
3:03 - Sidewall rip repair
If you ride bikes, you will get a flat. Whether a pinch flat, sidewall slice, thorn, or sliver of glass, flats are never welcome. However, if you are armed with some basic knowledge and a few tips and tricks, flats are nothing to be feared.
Tube Replacement/Install
When you puncture a tube or tubeless tire badly enough that it will no longer seal, a new tube is in order. Following a few key steps will ensure a fast and injury-free replacement or install.
The trick is to push the tire bead down into the trough of the rim bed all the way around the circumference of the wheel. This will give you more slack on the bead to get it up and over the rim’s bead hook.
Then carefully push a tire lever under one bead and slide it all the way around. If you have a loose fitting tire, you can often pull the bead off of the rim by hand. fingers instead if the fit is not too tight. You only need to pull one bead off the rim to install or replace a tube.
To install the tube, first inflate it just enough to give it some shape, put the valve through the rim’s valve hole, and carefully stuff the tube under the tire. Orient the tire logo with the valve to keep it pro. You may need to deflate the tube after getting it under the tire. Then, starting opposite the valve, use your thumbs to push the tire over the rim’s sidewall, working your way up each side of the rim simultaneously back to the valve.
If you start at the valve, the bead won’t be able to sit all the way down in the rim trough, making your job a lot harder. When you’ve worked to the valve, press the tire against your waist, or the ground, to hold the bead in the trough of the rim. This will give you the slack you need to push the bead up and over the edge of the rim.
If possible, avoid using tire levers, since they may pinch your tube, resulting in a flat before you even get the wheel back on the bike. If you do the job right, you will rarely need levers.
Tie Knot in Tube
When your luck turns sour, and you accrue more punctures than you have patches or spare tubes for, it’s time to get creative.
First, remove the tube and locate the puncture. Next, with a knife or sharp object cut across the damaged section of the tube. Then tie the two ends of the tube together in a tight square knot. Reinstall the tube in the tire. Stay patient since getting the tire bead back onto the rim could be difficult at first. Finally, reinflate the tube and finish your ride, which may now be a bit bumpier.
Sidewall RepairSidewall slices, often due to rock damage and pinch flats, are common causes of flats. The downfall of both tube and tubeless set-ups, sidewall slices must be repaired before continuing on your ride.
Torn sidewalls must be booted in order to contain the inner tube, which will quickly puncture if allowed to bulge out of the rip. Sorry tubeless riders, you will have to install a tube in order to get home on a tire with a torn sidewall.
Tires can be booted with several common materials. If you’re the prepared type, you most likely have an old piece of tire or extra-thick downhill tube in your bag for just this purpose. A few layers of duct tape, which you can keep wrapped around your CO2 cartridge or pump, makes an excellent boot. Another well-known trick is to use an empty energy gel or bar wrapper between your new tube and the tire. You can even use a bit of the residual gel to help tack the boot in place during installation. Paper currency and even leaves can be folded up to make a very effective tire boot, just be sure to choose vegetation without any sharp edges, points, or shiny three-leaf clusters.. Double-layers of stickers peeled off your frame can be used also. Our oval Art’s Cyclery stickers are worth keeping in your pack for just this reason.
To install the tire boot, follow the same procedure as a standard tube replacement. After stuffing the new partially inflated tube under the tire, position the tire boot between the tube and tire under the rip. Make sure the boot is big enough to extend well around the edges of the tear in case the boot moves during installation. Carefully seat the tire bead in the rim and inflate the tube, keeping an eye on the sidewall rip to make sure the boot stays in place and keeps the tube from bulging.
Credit:
Art's Cyclery
View replies to: How-To: Flat Repairs, Tips and Tricks with Art's Cyclery